To create a custom icon in Flutter, you typically create a new widget class that extends StatelessWidget or StatefulWidget, depending on whether your custom icon needs to manage its own state.
Here’s a basic example of creating a custom icon using StatelessWidget:
import 'package:flutter/material.dart';

class CustomIcon extends StatelessWidget {
  const CustomIcon({Key? key}) : super(key: key);

  @override
  Widget build(BuildContext context) {
    return SizedBox(
      width: 45,
      height: 30,
      child: Stack(
        children: [
          Container(
            margin: const EdgeInsets.only(
              left: 10,
            ),
            width: 38,
            decoration: BoxDecoration(
              color: const Color.fromARGB(
                255,
                250,
                45,
                108,
              ),
              borderRadius: BorderRadius.circular(7),
            ),
          ),
          Container(
            margin: const EdgeInsets.only(
              right: 10,
            ),
            width: 38,
            decoration: BoxDecoration(
              color: const Color.fromARGB(
                255,
                32,
                211,
                234,
              ),
              borderRadius: BorderRadius.circular(7),
            ),
          ),
          Center(
            child: Container(
              height: double.infinity,
              width: 38,
              decoration: BoxDecoration(
                color: Colors.white,
                borderRadius: BorderRadius.circular(7),
              ),
              child: const Icon(
                Icons.add,
                color: Colors.black,
                size: 20,
              ),
            ),
          )
        ],
      ),
    );
  }
}
This Flutter code defines a custom widget named CustomIcon. This widget creates an icon composed of two colored rectangles and an “add” icon placed in the center. Let’s break down the code:
import 'package:flutter/material.dart';
This line imports the material library which contains widgets and utility functions for creating user interfaces in a Material Design style.
class CustomIcon extends StatelessWidget {
This line defines a new class named CustomIcon which extends StatelessWidget. This means that CustomIcon is a widget that doesn’t maintain any state.
const CustomIcon({Key? key}) : super(key: key);
This is the constructor for the CustomIcon class. It’s a constant constructor taking an optional Key parameter. The Key parameter is used for identifying widgets uniquely.
  @override
  Widget build(BuildContext context) {
This is the build method, which is a required method for all widgets. It returns the widget that this class represents.
    return SizedBox(
      width: 45,
      height: 30,
This widget constrains its child to a specific width and height.
child: Stack(
A Stack widget allows you to place children on top of each other.
        children: [
          Container(
            margin: const EdgeInsets.only(
              left: 10,
            ),
            width: 38,
            decoration: BoxDecoration(
              color: const Color.fromARGB(
                255,
                250,
                45,
                108,
              ),
              borderRadius: BorderRadius.circular(7),
            ),
          ),
This is the first colored rectangle. It’s a Container widget with a specific color, width, and border radius. It’s positioned to the left within the stack.
          Container(
            margin: const EdgeInsets.only(
              right: 10,
            ),
            width: 38,
            decoration: BoxDecoration(
              color: const Color.fromARGB(
                255,
                32,
                211,
                234,
              ),
              borderRadius: BorderRadius.circular(7),
            ),
          ),
This is the second colored rectangle. Similar to the first one, but it’s positioned to the right within the stack.
          Center(
            child: Container(
              height: double.infinity,
              width: 38,
              decoration: BoxDecoration(
                color: Colors.white,
                borderRadius: BorderRadius.circular(7),
              ),
              child: const Icon(
                Icons.add,
                color: Colors.black,
                size: 20,
              ),
            ),
          )
This is the central container that holds the “add” icon. It’s a white container with a black “add” icon in the center.
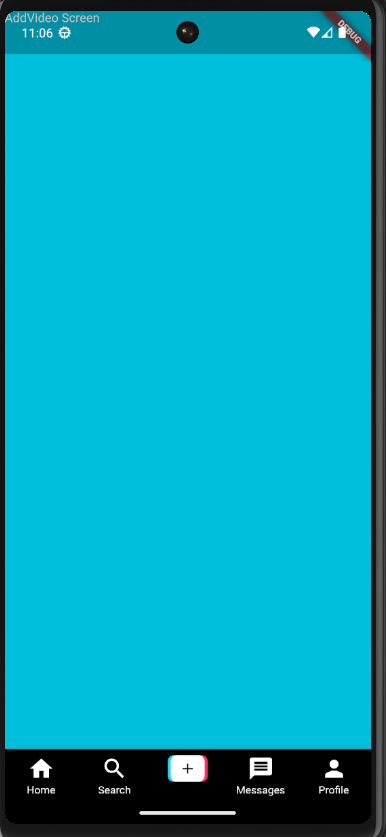
CustomIcon widget creates an icon composed of two colored rectangles on the sides and an “add” icon in the center, all wrapped within a Stack widget.
Thanks
Happy Coding 🙂